In today’s healthcare and assistive technology landscape, innovation plays a vital role in transforming lives. One of the most promising solutions is the Smart Prosthetic Arm controlled by Arduino, designed to provide affordable, customizable, and functional alternatives to traditional prosthetics. Unlike expensive commercial prosthetic devices, this DIY project offers a cost-effective, Arduino-powered bionic arm with real-world social impact.
The system uses sensors such as flex sensors or EMG (Electromyography) sensors to detect muscle movements, which are then processed by an Arduino microcontroller. These signals drive servo motors connected to a prosthetic hand, enabling natural movements like gripping and releasing objects. This integration of biomedical sensing, Arduino control, and mechanical design empowers individuals with disabilities to regain independence in daily tasks.
Components Required for
Smart Prosthetic Arm using Arduino
:
| Component | Description |
|---|---|
| Arduino UNO / Nano | Microcontroller to process sensor data and control actuators |
| Flex Sensor / EMG Sensor | Detects muscle movement (mounted on skin or glove) |
| Servo Motors | Actuate fingers and thumb |
| Resistors (10kΩ) | For sensor voltage divider circuits |
| Jumper Wires + Breadboard | For connections and prototyping |
| 3D Printed Prosthetic Hand | Mechanical framework of arm |
| Battery Pack (9V or 7.4V ) |
Portable power supply |
| Optional: Buzzer/LED | Displays real-time color data |
| Buzzer / LED Indicators | Feedback indication |
Working Principle of Smart Prosthetic Arm using Arduino:
-
- Sensor Input: Flex or EMG sensors are attached to the user’s arm or fingers to measure muscle contraction.
- Arduino Processing: The Arduino reads analog sensor values and determines if the muscle is contracted or relaxed.
- Motor Control: Depending on the input, servo motors rotate to open or close the prosthetic fingers.
- Prosthetic Movement: The artificial hand mimics natural grip, enabling users to hold, release, or gesture.
Circuit Diagram of Smart Prosthetic Arm using Arduino:
Arduino Code for Smart Prosthetic Arm using Arduino
:
#include <Servo.h>
Servo finger1;
Servo finger2;
Servo finger3;
Servo finger4;
Servo thumb;
int flexPin = A0; // Flex or EMG sensor pin
int sensorValue = 0;
int threshold = 500; // Adjust threshold according to sensor calibration
void setup() {
finger1.attach(3);
finger2.attach(5);
finger3.attach(6);
finger4.attach(9);
thumb.attach(10);
Serial.begin(9600);
Serial.println("Smart Prosthetic Arm Initialized");
}
void loop() {
sensorValue = analogRead(flexPin);
Serial.println(sensorValue);
if(sensorValue > threshold) {
// Close hand (grip)
finger1.write(0);
finger2.write(0);
finger3.write(0);
finger4.write(0);
thumb.write(0);
} else {
// Open hand
finger1.write(90);
finger2.write(90);
finger3.write(90);
finger4.write(90);
thumb.write(90);
}
delay(100);
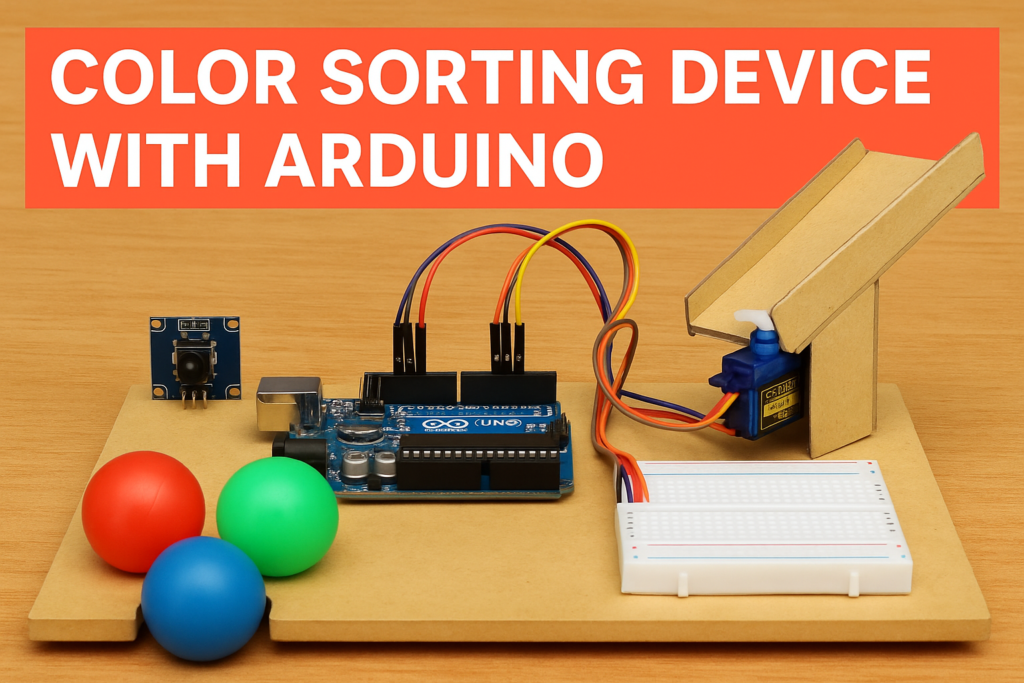
} // This code can be modified to use multiple flex sensors for controlling each finger individually.Mechanical Setup of Color Sorting Device:
-
- Create a chute or sloped surface to drop colored balls/caps onto a scanning area.
-
- The IR sensor is positioned before the color sensor to detect when the object is ready to be scanned.
-
- The color sensor is fixed below or beside the object detection area.
-
- The servo motor is placed underneath or beside the object drop zone and has a flap or rotating arm to divert objects into bins.
-
- Healthcare & Rehabilitation:
-
- Assists amputees in regaining daily functionality.
-
- Affordable prosthetics for patients in developing countries.
-
Educational & Research Projects
-
Demonstrates Arduino in biomedical engineering applications.
-
Provides students hands-on experience with real-world impact.
-
-
Assistive Technology Startups
-
Basis for low-cost prosthetic products with scalability potential.
-
-
Military & Accident Recovery
-
Provides prosthetics to soldiers or accident victims.
-
- Healthcare & Rehabilitation:
- Future improvements in smart prosthetic Arm:
-
- Integration with MyoWare EMG sensors for more accurate muscle signal detection.
-
- Wireless connectivity (Bluetooth/IoT) for remote control and data monitoring.
-
- Gesture recognition with AI/ML for intuitive multi-gesture control.
-
- Haptic feedback to provide touch sensation back to the user.
- Lightweight carbon fiber / advanced 3D printing for durability.
Conclusion
The Arduino-controlled Smart Prosthetic Arm is more than just a project – it’s a powerful example of innovation with social impact. By combining simple sensors, affordable hardware, and Arduino programming, we can build prosthetics that change lives. This DIY approach makes assistive technology more accessible to millions of people worldwide who cannot afford commercial prosthetics.
As technology continues to evolve, we can expect smarter, lighter, and more intuitive prosthetic systems that integrate IoT, AI, and advanced materials.
Need This Project?
If you need this Project with or without Modifications or Customization then you can contact us through WhatsApp. We can deliver you this Project in the Following Ways.
Project Code:
we can provide you Project Code along with Zoom Assistant, through Zoom meeting for Setup of this Project or any other Arduino Project of your need.
Fully Functional Project with Hardware/Components Shipment:
if you can not make this project yourself then you can use this option. We will assemble the Project and will ship it to your Doorstep with Safe Packaging.
Learn More about the services we offer.